Hier folgen einfach kurze Starthilfen für verschiedene Microcontrollerboards mit PlatformIO.
Digispark Digistump
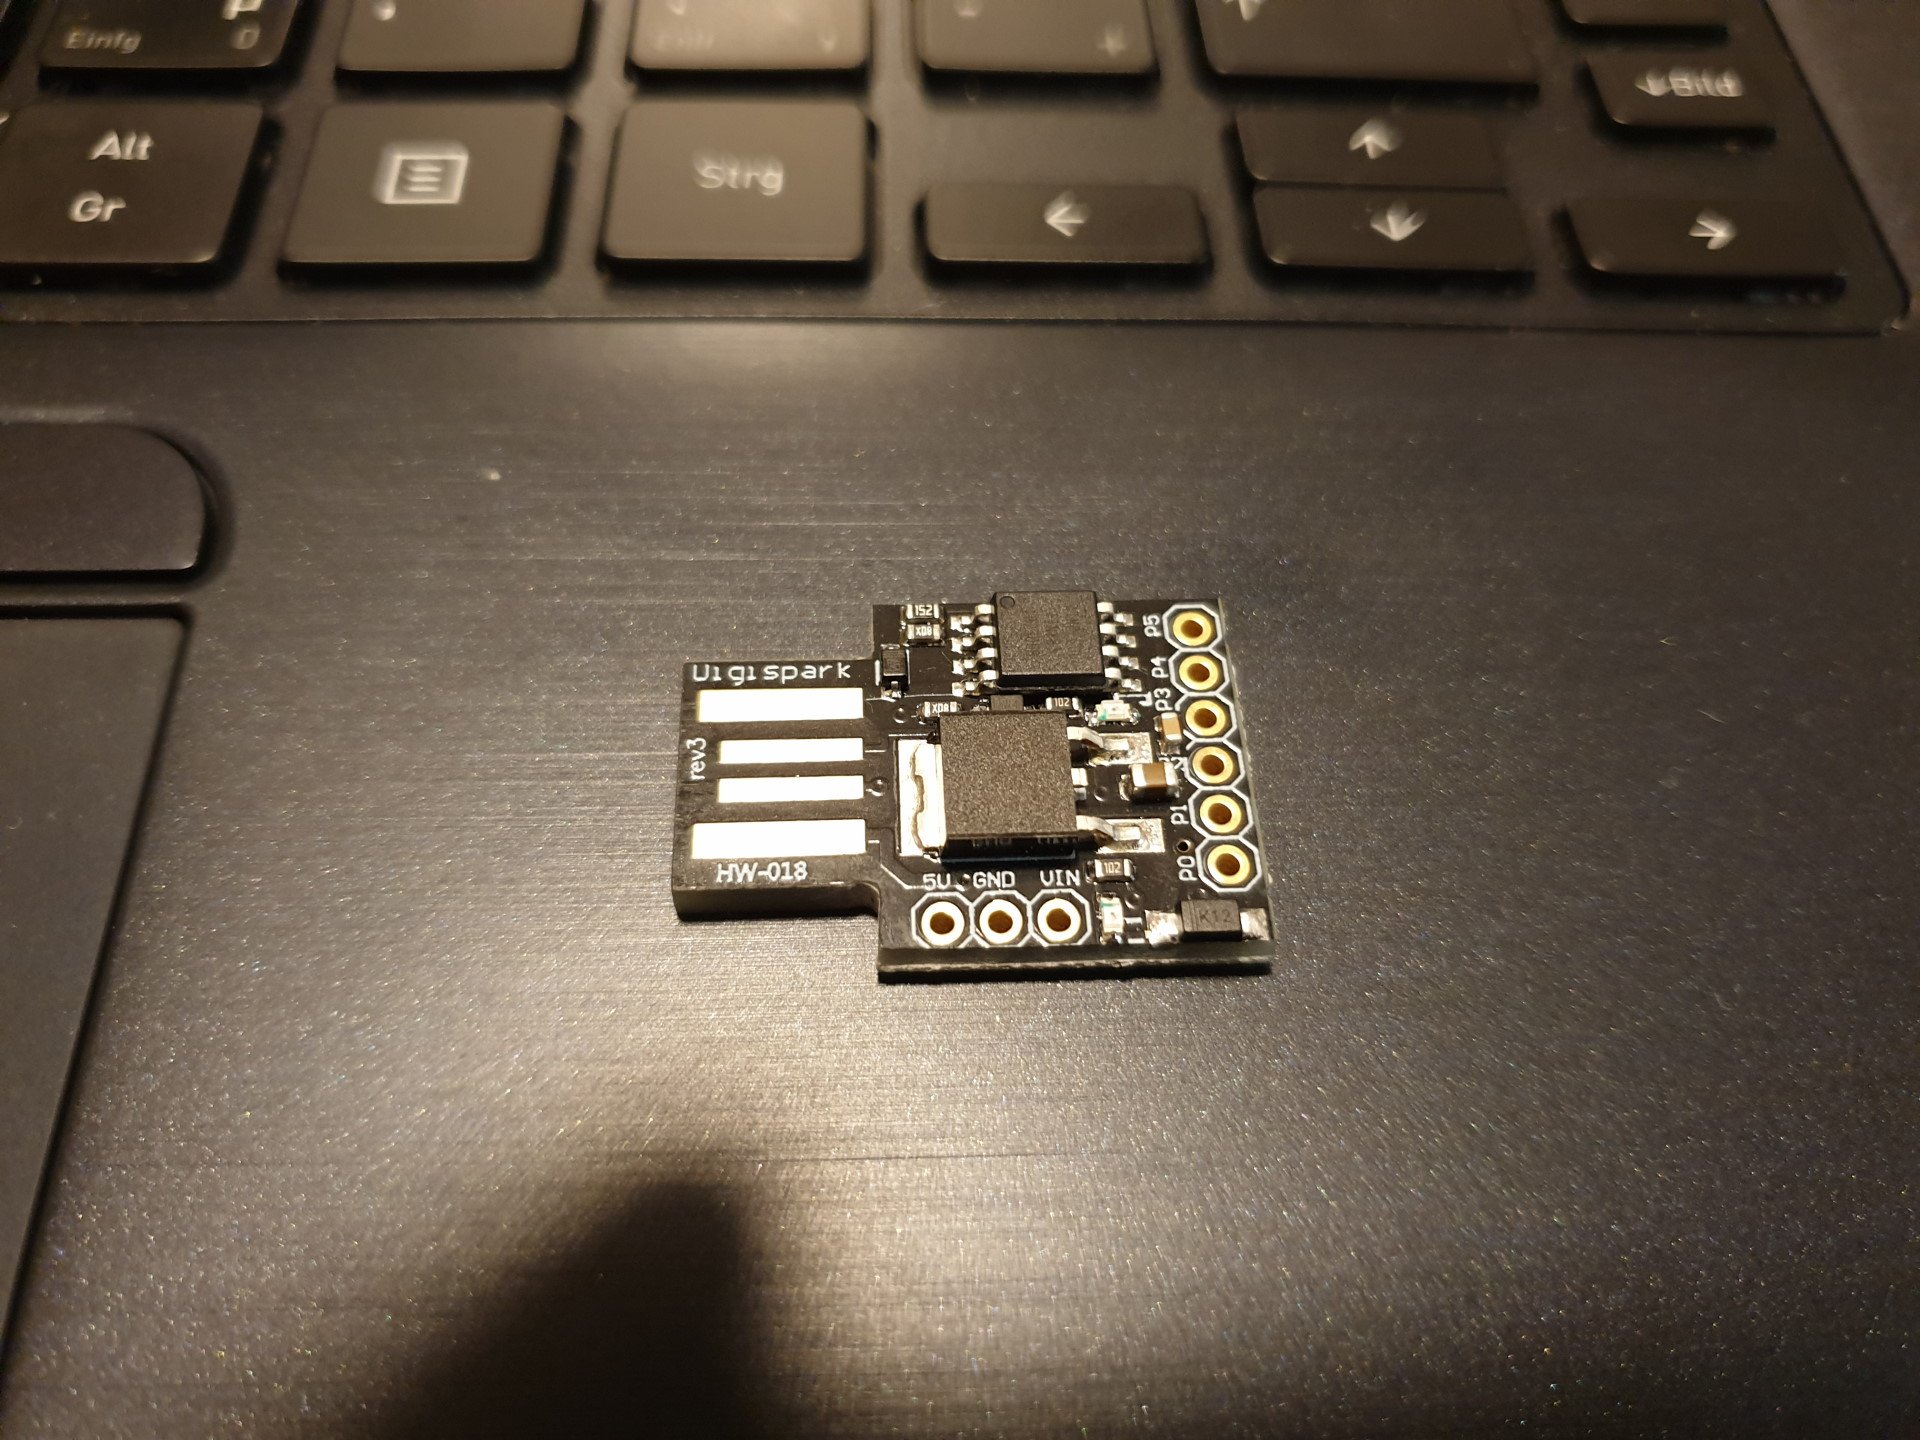
Als erstes geht es um den Digistump.
Das praktische an dem Board: man steckt es in den USB-Port und kann es direkt programmieren. Der Bootloader ist drauf und das Board selbst ist schon ein kleiner USB-Stecker. Steckt man das Board ein, wartet der Bootloader 5 Sekunden auf eine neue Firmware, bevor die aktuell aufgespielte Firmware gestartet wird.
LED blinken lassen
Hier erstmal ein bisschen Code, um die onboard LED blinken zu lassen:
|
1 2 3 4 5 6 7 8 9 10 11 12 13 14 |
#include <Arduino.h> void setup() { pinMode(1, OUTPUT); //LED on Model A } void loop() { delay(1000); digitalWrite(1, HIGH); delay(1000); digitalWrite(1, LOW); } |
Die zugehörige platformio.ini sieht wie folgt aus:
|
1 2 3 4 |
[env:digispark-tiny] platform = atmelavr board = digispark-tiny framework = arduino |
Möchte man das Ganze dann auf das Board laden, zieht man das Board aus dem USB-Port, klickt auf „Upload“ und sieht dann folgendes:
|
1 2 3 4 5 6 7 8 |
Checking size .pio\build\digispark-tiny\firmware.elf Advanced Memory Usage is available via "PlatformIO Home > Project Inspect" DATA: [== ] 15.8% (used 81 bytes from 512 bytes) PROGRAM: [===== ] 45.4% (used 2728 bytes from 6012 bytes) Configuring upload protocol... AVAILABLE: micronucleus CURRENT: upload_protocol = micronucleus Uploading .pio\build\digispark-tiny\firmware.hex |
Sobald man die Zeile mit „Uploading […]“ sieht, hat man 60 Sekunden Zeit, das Board wieder anzustecken. Dieses startet dann im Bootloader und das Programm wird automatisch hochgeladen. Zack – feddich!
Digistump als Tastatur
Mit den aktuellen Arduino-Libraries lässt sich sogar schon einiges anstellen – man kann den Digistump ohne Probleme nutzen, um eine Tastatur für den PC zu emulieren. Der folgende Sketch
|
1 2 3 4 5 6 7 8 9 10 11 12 |
#include <Arduino.h> #include "DigiKeyboard.h" void setup() { } void loop() { DigiKeyboard.sendKeyStroke(KEY_SPACE); DigiKeyboard.delay(1000); // wait for a second } |
drückt jede Sekunde die Leertaste. Die zugehörige platformio.ini muss im Verlgleich zur vorherigen etwas angepasst werden:
|
1 2 3 4 5 6 |
[env:digispark-tiny] platform = atmelavr board = digispark-tiny framework = arduino build_flags = "-Wno-error=narrowing" ; sonst gibt es build Fehler bei Nutzung von keyboard.h |
Die Buildfehler tauchen in der ArduinoIDE nicht auf, für PlatformIO ist dieser Fix notwendig, wenn man nicht die einzelnen Libraries bearbeiten möchte.
Arduino UNO mit ILI9341 Touchscreen
Konkret handelt es sich um dieses Display.
|
1 2 3 4 5 6 7 8 9 10 11 12 13 14 15 16 17 18 19 20 21 22 23 24 25 26 27 28 29 30 31 32 33 34 35 36 37 38 39 40 41 42 43 44 45 46 47 48 49 50 51 52 53 54 55 56 57 58 59 60 61 62 63 64 65 66 67 68 69 70 71 72 73 74 75 76 77 78 79 80 81 82 83 84 85 86 87 88 89 90 91 92 93 94 95 |
#include <SPI.h> #include <Wire.h> #include <Adafruit_GFX.h> // Core graphics library #include <Adafruit_TFTLCD.h> // Hardware-specific library #include <TouchScreen.h> // The control pins for the LCD can be assigned to any digital or // analog pins...but we'll use the analog pins as this allows us to // double up the pins with the touch screen (see the TFT paint example). #define LCD_CS A3 // Chip Select goes to Analog 3 #define LCD_CD A2 // Command/Data goes to Analog 2 #define LCD_WR A1 // LCD Write goes to Analog 1 #define LCD_RD A0 // LCD Read goes to Analog 0 #define LCD_RESET A4 // Can alternately just connect to Arduino's reset pin #define YP A3 // must be an analog pin, use "An" notation! #define XM A2 // must be an analog pin, use "An" notation! #define YM 9 // can be a digital pin #define XP 8 // can be a digital pin #define TS_MINX 100 #define TS_MAXX 920 #define TS_MINY 70 #define TS_MAXY 900 #define MINPRESSURE 10 #define MAXPRESSURE 1000 #include <MCUFRIEND_kbv.h> MCUFRIEND_kbv tft; TouchScreen ts = TouchScreen(XP, YP, XM, YM, 300); void setup(void) { tft.reset(); //ts.begin(); Serial.begin(115200); uint16_t identifier = tft.readID(); tft.begin(identifier); } void loop(void) { tft.fillScreen(TFT_BLACK); unsigned long start = micros(); tft.setCursor(0, 0); tft.setTextColor(TFT_RED); tft.setTextSize(1); tft.println("Hello World!"); tft.println(01234.56789); tft.println(0xDEADBEEF, HEX); tft.println(); tft.println(); tft.setTextColor(TFT_GREEN); tft.setTextSize(2); tft.println("Hello World!"); tft.println(01234.56789); tft.println(0xDEADBEEF, HEX); tft.println(); tft.println(); tft.setTextColor(TFT_BLUE); tft.setTextSize(3); tft.println("Hello World!"); tft.println(01234.56789); tft.println(0xDEADBEEF, HEX); tft.setTextColor(TFT_WHITE); tft.setTextSize(4); tft.println("Hello!"); tft.setTextColor(TFT_YELLOW); tft.setTextSize(5); tft.println("Hello!"); tft.setTextColor(TFT_RED); tft.setTextSize(6); tft.println("Hello!"); tft.println(); tft.println(); while (1) { TSPoint p = ts.getPoint(); if (p.z > MINPRESSURE && p.z < MAXPRESSURE) { Serial.print(p.x); Serial.print(" - "); Serial.println(p.y); delay(250); } } } |
|
1 2 3 4 5 6 7 8 9 10 |
[env:uno] platform = atmelavr board = uno framework = arduino monitor_speed = 115200 lib_deps = https://github.com/adafruit/Adafruit-GFX-Library https://github.com/adafruit/TFTLCD-Library https://github.com/prenticedavid/MCUFRIEND_kbv https://github.com/adafruit/Adafruit_TouchScreen |
Der Code kommt dabei zu großen Teilen aus den Beispielen, wobei nicht alle bei mir funktioniert haben.
Arduino UNO mit Sainsmart LCD Keypad Shield v1.0
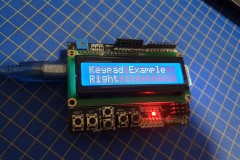
 Hierbei geht das darum, dieses Shield mit Display und Tasten in betrieb zu nehmen. Am Ende sollte das ganze wie auf dem Bild aussehen. Dazu nutze ich eine Library, die die Tastendrücke auswertet. Jede Taste hat dabei einen anderen Widerstandswert. Es kann also immer nur eine Taste gleichzeitig gedrückt werden.
|
1 2 3 4 5 6 7 8 9 10 11 12 13 14 15 16 17 18 19 20 21 22 23 24 25 26 27 28 29 30 31 32 33 34 35 36 37 38 39 40 41 42 43 44 45 46 47 48 |
#include <Arduino.h> #include <LiquidCrystal.h> #include <Wire.h> #include "sainsmartkeypad.h" LiquidCrystal lcd(8, 9, 4, 5, 6, 7); SainsmartKeypad keypad(0); uint8_t key; void setup(void) { lcd.begin(16, 2); lcd.setCursor(0,0); lcd.print("Keypad Example"); } void loop(void) { key = keypad.getKey_waitrelease(); if(key != SAMPLE_WAIT && key != NO_KEY) { const char * output = ""; switch (key) { case DOWN_KEY: output = "Down"; break; case UP_KEY: output = "Up"; break; case LEFT_KEY: output = "Left"; break; case RIGHT_KEY: output = "Right"; break; case SELECT_KEY: output = "Select"; break; default: break; } // alten string ueberschreiben lcd.setCursor(0, 1); lcd.print(" "); // neuen string schreiben lcd.setCursor(0, 1); lcd.print(output); } } |
|
1 2 3 4 5 6 7 |
[env:uno] platform = atmelavr board = uno framework = arduino lib_deps = https://github.com/Phaiax/sainsmartkeypad LiquidCrystal |
Wemos Lolin C3 mini v2.1.0 ESP32-C3
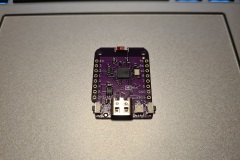
 Gefunden habe ich das kleine Kerlchen hier. Ich überlege ein Projekt mir dem ESP32-C3 umzusetzen und mit dem Board kann man dann ganz gut testen. Es ist auch eine RGB-Led an Bord, die mit dem Beispielcode zum leuchten gebracht wird.
|
1 2 3 4 5 6 7 8 9 10 11 12 13 14 15 |
#include #include #define NUM_LEDS 1 #define DATA_PIN 7 CRGB leds[NUM_LEDS]; void setup() { FastLED.addLeds<WS2812B, DATA_PIN, GRB>(leds, NUM_LEDS); leds[0] = CRGB::Red; FastLED.show(); } void loop() { } |
|
1 2 3 4 5 6 7 |
[env:lolin_c3_mini] platform = espressif32 board = lolin_c3_mini framework = arduino lib_deps = fastled/FastLED @ 3.5.0 |

Schreibe einen Kommentar